
Imagine a form of magic that has been used for centuries, a practice that can turn your deepest desires into reality. This is the power of sigils, symbols that act as a bridge between your conscious and unconscious mind, manifesting your intentions. Sigil magic, often associated with chaos magic, is a modern form of magic that encourages personal creativity and experimentation.
The basic principle of sigil magic is simple yet powerful: by crafting a symbol that represents a specific desire or intention, you focus your energy and willpower towards that symbol, thereby influencing the desired outcome. This symbol, once charged with energy and released into the universe, becomes a powerful tool in manifesting your intentions. While sigil magic may look simple, it is a rich practice that requires understanding of symbolism, intention, and energy work, allowing you to shape your reality.
How Do You Make a Sigil for Sigil Magic?
Creating a sigil involves two main steps: construction and charging. In the construction phase, you physically create the sigil by drawing it on materials like paper, wood, stone, or metal. The shape and form of the sigil are entirely up to you, so feel free to get creative. Once the sigil is constructed, it's time for the charging phase.
After the sigil is constructed, it is time for the charging phase. During this phase, the sigil is given energy or "charged," making it more than just a simple drawing. This is accomplished by focusing one's intent and energy on the sigil, filling it with personal power, and connecting it to a specific goal or desire. Once the sigil is charged, it can be used in various ways, such as carrying it with you, placing it in a special location, or burning it as a ritual offering.
Step 1: Choose Your Sigil Type
Sigils can be categorised into three types: destructible, temporary, and permanent. Destructible sigils are those that can be used only once and are destroyed after their use. These sigils are commonly found in rituals that require a one-time use of sigils for a specific purpose. Destructible sigils can be created using various materials like paper, wax, or clay. Once the purpose of the sigil has been fulfilled, it is destroyed to prevent it from being reused or falling into the wrong hands.
Temporary sigils are those that are designed to last for a specific period of time before they lose their potency. These sigils are commonly used in rituals that require a continuous or long-term effect, such as protection spells or healing rituals. Temporary sigils can be made using various materials, such as chalk, paint, or sand. Once the effect of the sigil has worn off, it can be erased or washed away.
Permanent sigils are designed to last indefinitely and are not meant to be destroyed or erased. They are commonly used in protective spells or as symbols of beliefs or ideas. They can be made using various materials, such as metal, stone, or ink. Once a permanent sigil has been created, it is considered a symbol that can be used for various purposes.
The choice of sigil type is a personal one, tailored to your needs, resources, and the purpose of the sigil. It can range from destructible sigils, offering added secrecy, to temporary sigils, valued for their ease of use, and permanent sigils, known for their staying power. The flexibility of sigil magic allows you to adapt it to your desired outcome and personal preference, making it a truly versatile practice.
Step 2: Craft the Sigil
This post will show you how to do sigil magic by using destructible sigils made with pen and paper. First, you need to define your intention in a single sentence, preferably in the present tense. It's important to be specific and clear about what you want to achieve, as this will help you focus your energy on your desired outcome.
Once you have your sentence, take two pieces of paper. The first will be used to design the sigil, and the second will be used for the actual sigil. The second piece of paper should be small enough to be burned with a candle later. The first step in designing the sigil is to write down your intent. For example, if you want to become more confident, you can write, "I am confident."
I AM CONFIDENT
The next step is to remove all the vowels and repeating letters from the sentence. In this case, it would be "m cnfdt." Write that down under your original sentence. If this looks weird to you, don't worry. It will all make sense soon.
M CNFDT
This last step can be done with the design paper or directly to the sigil paper if you feel like you want to trust your intuition. Starting with the first letter from the previous phase, create an abstract symbol by combining the letters one by one. You can use lowercase or uppercase letters or mix them. This symbol will represent your intention and help you focus your energy on it. You don't need to worry about how the end result looks. It doesn't affect the sigil's effectiveness. Besides, the sigil will be burned later, so who will even know?
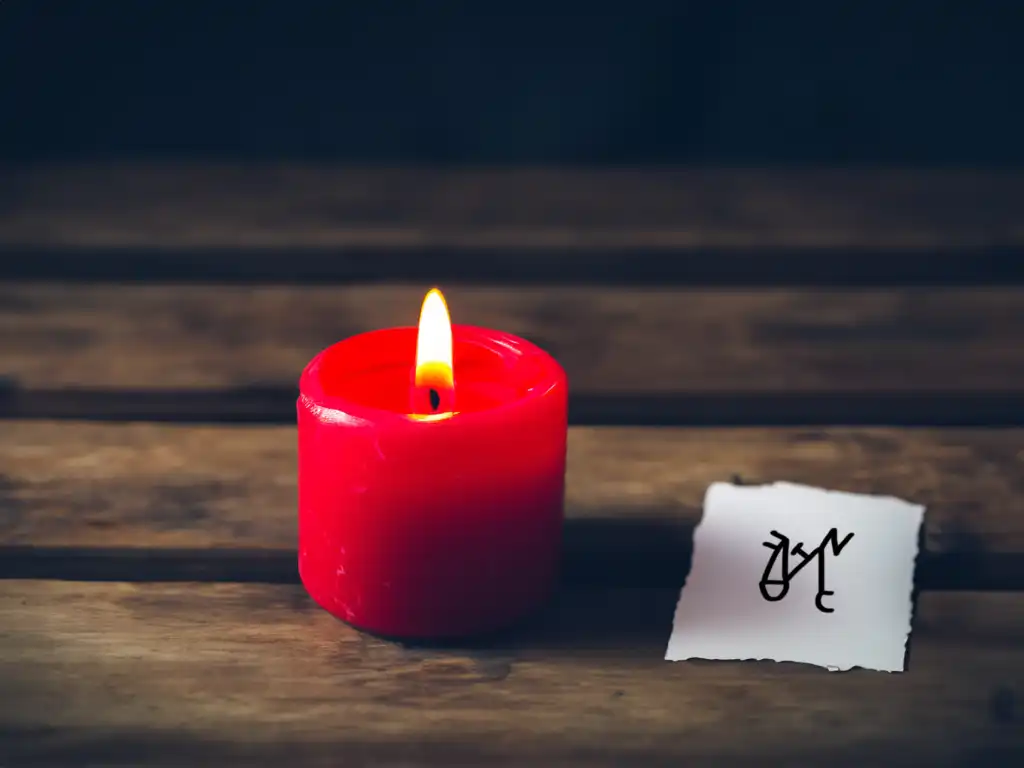
Candles are typically used in sigil magic
Step 3: Charge the Sigil
In the last step of doing sigil magic, you need to gather a few materials to charge a destructible sigil with a candle. You'll need a candle, a lighter or matches, and, of course, your sigil. Choose a candle colour that matches with the intention of your sigil. For example, if you're creating a sigil for love, you may want to choose a pink or red candle. Once you have everything you need, find a quiet and safe place to work. Remember that burning paper makes some smoke, so do the next step outside if necessary.
When you're ready to start, light the candle and place it in front of your sigil. Take a few deep breaths and focus on your intention. Visualise the energy from the flame flowing into the sigil, charging it with your intention. You can also hold your hands over the sigil and visualise the energy flowing from your hands into the sigil. Once you feel the sigil has been charged, you can either blow out the candle and burn the sigil somewhere safer or use the candle to burn your sigil. If you choose the latter, ensure you have a fire-safe container, such as a cauldron, to place the burning paper. Always practice fire safety and have a fire extinguisher or water nearby in case of emergencies.
Conclusion
Sigil magic is a powerful tool that allows you to add magic to your life. It helps you channel your intention and energy, directing them towards a specific goal or desire. Whether you choose to create your own sigils or use pre-made ones, you are taking a step towards bringing magic into your daily routine and potentially experiencing positive changes in your life. From manifesting abundance to attracting love or improving your health, sigils can be a valuable part of your magical practice. So, why not start and see what kind of magic you can create?
For more ways to incorporate magical practices into your daily life, check out our articles on how to add witchcraft to your day or explore different types of spells you can use alongside sigil magic. If you're interested in working with candles in your sigil practice, our candle magic guide provides additional insights.
Related in this topic
More from Witchcraft Practice — Start Here.
Embracing Shadow Work with Lilith
Shadow integration guided by Lilith, the primal feminine rebel. Practical rituals for modern practitioners.